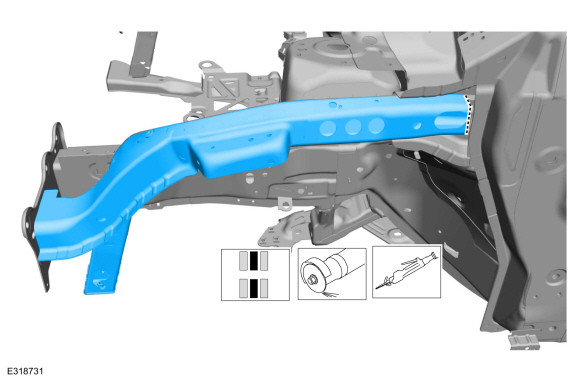
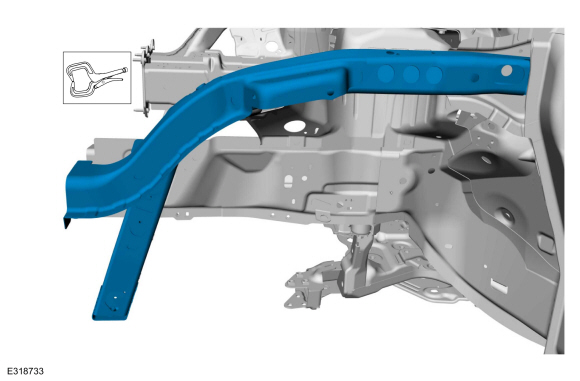
Lincoln Corsair: Engine Cooling - 2.0L EcoBoost (177kW/240PS) – MI4 / Removal and Installation - Degas Bottle
Lincoln Corsair 2020-2026 Service Manual / Powertrain / Engine / Engine Cooling - 2.0L EcoBoost (177kW/240PS) – MI4 / Removal and Installation - Degas Bottle
Special Tool(s) / General Equipment
| Fluid Suction Gun | |
| Hose Clamp Remover/Installer | |
| Locking Pliers |
Removal
 WARNING:
Always allow the engine to cool before opening the cooling
system. Do not unscrew the coolant pressure relief cap when the engine
is operating or the cooling system is hot. The cooling system is under
pressure; steam and hot liquid can come out forcefully when the cap is
loosened slightly. Failure to follow these instructions may result in
serious personal injury.
WARNING:
Always allow the engine to cool before opening the cooling
system. Do not unscrew the coolant pressure relief cap when the engine
is operating or the cooling system is hot. The cooling system is under
pressure; steam and hot liquid can come out forcefully when the cap is
loosened slightly. Failure to follow these instructions may result in
serious personal injury.
NOTE: Removal steps in this procedure may contain installation details.
-
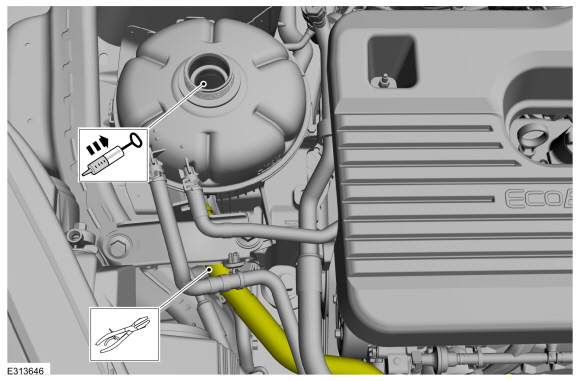
Release the cooling system pressure by slowly turning the degas bottle cap between 2 and 3 turns and remove the degas bottle cap.
WARNING:
When releasing the cooling system pressure, cover the coolant expansion tank cap with a thick cloth.
 |
-
Using general tools, clamp the lower coolant hose and syphon the engine coolant from the degas bottle.
Use the General Equipment: Fluid Suction Gun
Use the General Equipment: Locking Pliers
 |
-
-
Detach the coolant hose retainer.
-
Release the clamps and disconnect the coolant hoses.
Use the General Equipment: Hose Clamp Remover/Installer
-
Detach the coolant hose retainer.
 |
-
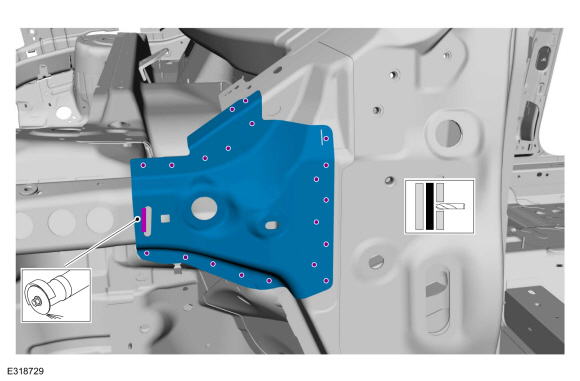
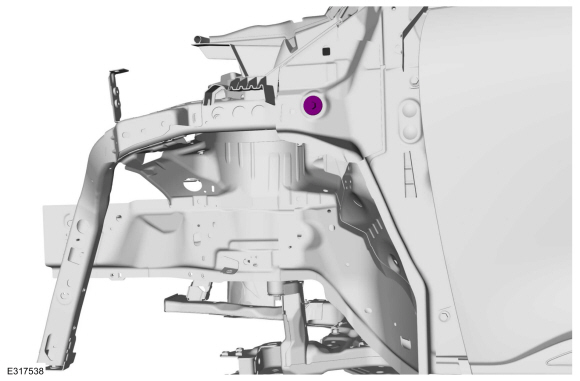
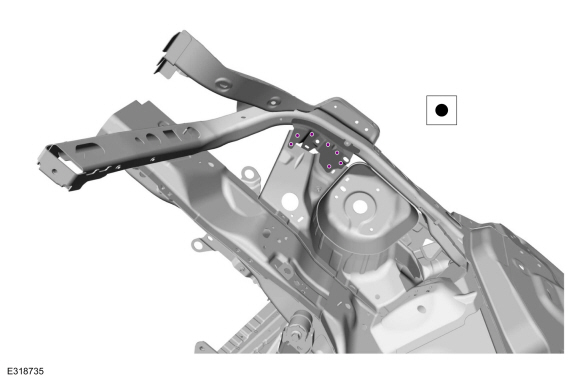
Remove the bolts and the degas bottle support bracket.
Torque: 35 lb.ft (47.5 Nm)
 |
-
Release the tabs and remove the degas bottle.
 |
Installation
-
To install, reverse the removal procedure.
-
Fill the degas bottle with the recommended coolant mixture and fill level.
Refer to: Specifications (303-03A Engine Cooling - 2.0L EcoBoost (177kW/240PS) – MI4, Specifications).
 Removal and Installation - Cooling Module
Special Tool(s) /
General Equipment
Hose Clamp Remover/Installer
Interior Trim Remover
Removal
NOTICE:
When removing any turbocharger air intake system components,
make sure to cover any open ports to prevent debris from entering the
system...
 Removal and Installation - Radiator
Special Tool(s) /
General Equipment
Hose Clamp Remover/Installer
Removal
NOTE:
Removal steps in this procedure may contain installation details...
Other information:
Lincoln Corsair 2020-2026 Service Manual: Diagnosis and Testing - Active Grille Shutter
Diagnostic Trouble Code (DTC) Chart Diagnostics in this manual assume a certain skill level and knowledge of Ford-specific diagnostic practices. REFER to: Diagnostic Methods (100-00 General Information, Description and Operation). Module DTC Description Action PCM P059F:00 Active Grille Air Shutter 'A' Performance/Stuck Off: No Sub Type Information GO to Pinpoint Test A PCM..
Lincoln Corsair 2020-2026 Service Manual: Removal and Installation - Second Row Seat Side Airbag
Removal WARNING: The following procedure prescribes critical repair steps required for correct restraint system operation during a crash. Follow all notes and steps carefully. Failure to follow step instructions may result in incorrect operation of the restraint system and increases the risk of serious personal injury or death in a crash. WARNING: Seat backrest trim c..
Categories
- Manuals Home
- 1st Generation Lincoln Corsair Owners Manual
- 1st Generation Lincoln Corsair Service Manual
- General Procedures - Brake Service Mode Activation and Deactivation
- Programming the Garage Door Opener to Your Garage Door Opener Motor
- Programming the Garage Door Opener to Your Hand-Held Transmitter
- New on site
- Most important about car
360 Degree Camera Cameras
Locating the Rear View Camera

The rear view camera is on the tailgate.
Locating the Front View Camera
Copyright © 2026 www.licorsair.com