Lincoln Corsair: Engine - 2.0L EcoBoost (177kW/240PS) – MI4 / Removal and Installation - Timing Chain Tensioner
Removal
NOTICE: Do not loosen or remove the crankshaft pulley bolt without first installing the special tools as instructed in this procedure. The crankshaft pulley and the crankshaft timing sprocket are not keyed to the crankshaft. The crankshaft, the crankshaft sprocket and the pulley are fitted together by friction. For that reason, the crankshaft sprocket is also unfastened if the pulley bolt is loosened. Before any repair requiring loosening or removal of the crankshaft pulley bolt, the crankshaft and camshafts must be locked in place by the special service tools, otherwise severe engine damage can occur.
NOTICE: During engine repair procedures, cleanliness is extremely important. Any foreign material, including any material created while cleaning gasket surfaces, that enters the oil passages, coolant passages or the oil pan can cause engine failure.
-
Remove the engine front cover.
Refer to: Engine Front Cover (303-01A Engine - 2.0L EcoBoost (177kW/240PS) – MI4, Removal and Installation).
-
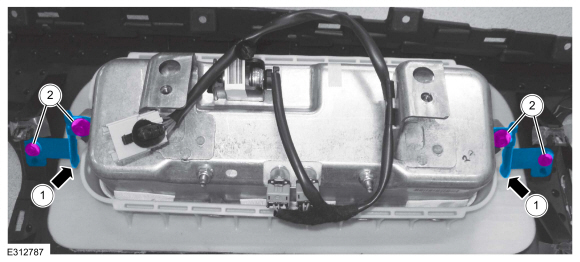
Remove the bolts and the timing chain tensioner.
 |
Installation
NOTE: If the timing chain tensioner plunger is not pinned in the compressed position, follow the next step.
-
Reset the timing chain tensioner.
-
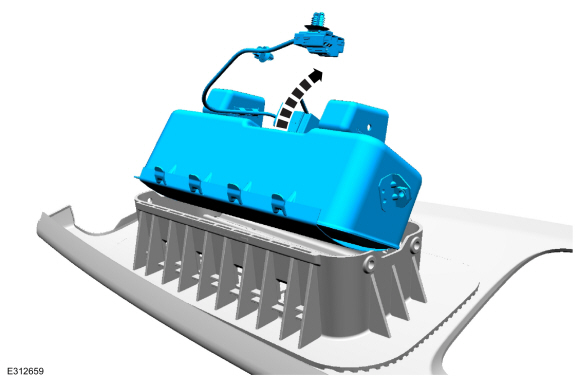
Position the timing chain tensioner in a soft-jawed vise.
-
Spread the ends of the ratchet wire clip apart.
-
Using the soft-jawed vise, compress the plunger to the reset position.
-
Install a locking pin in the 2 holes of the timing chain tensioner body to hold the plunger in place.
-
Position the timing chain tensioner in a soft-jawed vise.
 |
-
NOTE: Do not remove the locking pin until the tensioner bolts are tightened.
-
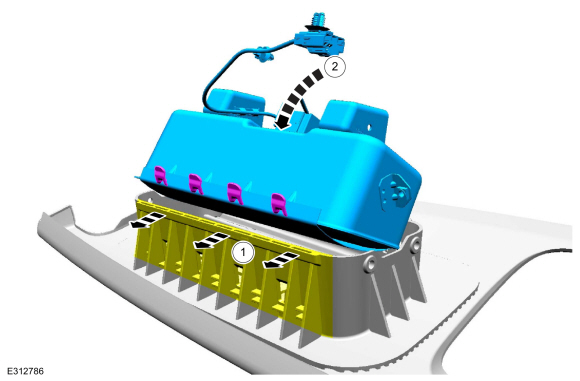
Install the timing chain tensioner and the bolts.
Torque: 97 lb.in (11 Nm)
-
Remove the locking pin.
-
Install the timing chain tensioner and the bolts.
 |
-
Install the engine front cover.
Refer to: Engine Front Cover (303-01A Engine - 2.0L EcoBoost (177kW/240PS) – MI4, Removal and Installation).
 Removal and Installation - Timing Chain
Removal
NOTICE:
Do not loosen or remove the crankshaft pulley bolt without
first installing the special tools as instructed in this procedure. The
crankshaft pulley and the crankshaft timing sprocket are not keyed to
the crankshaft...
 Removal and Installation - Valve Cover
Special Tool(s) /
General Equipment
205-153
(T80T-4000-W)
Handle
303-1687Installer, VCT Solenoid Seal
Materials
Name
Specification
Motorcraft® High Performance Engine RTV SiliconeTA-357
WSE-M4G323-A6
Removal
NOTICE:
During engine repair procedures, cleanliness is extremely
important...
Other information:
Lincoln Corsair 2020-2026 Owners Manual: In California (U.S. Only)
California Civil Code Section 1793.2(d) requires that, if a manufacturer or its representative is unable to repair a motor vehicle to conform to the vehicle’s applicable express warranty after a reasonable number of attempts, the manufacturer shall be required to either replace the vehicle with one substantially identical or repurchase the vehicle and reimburse the buyer in an amount eq..
Lincoln Corsair 2020-2026 Service Manual: Removal and Installation - Exhaust Gas Recirculation (EGR) Outlet Tube
Removal NOTE: Removal steps in this procedure may contain installation details. Remove the differential pressure feedback EGR sensor. Refer to: Differential Pressure Feedback Exhaust Gas Recirculation (EGR) Sensor (303-08A Engine Emission Control - 2.0L EcoBoost (177kW/240PS) – MI4, Removal and Installation). Disconnect the electrical connector. ..
Categories
- Manuals Home
- 1st Generation Lincoln Corsair Owners Manual
- 1st Generation Lincoln Corsair Service Manual
- Exterior Mirrors
- Normal Scheduled Maintenance
- General Procedures - Brake Service Mode Activation and Deactivation
- New on site
- Most important about car
Adjusting the Steering Wheel - Vehicles With: Power Adjustable Steering Column
WARNING: Do not adjust the steering wheel when your vehicle is moving.
Note: Make sure that you are sitting in the correct position.