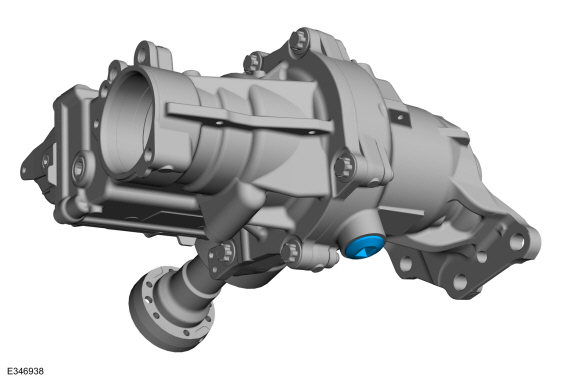
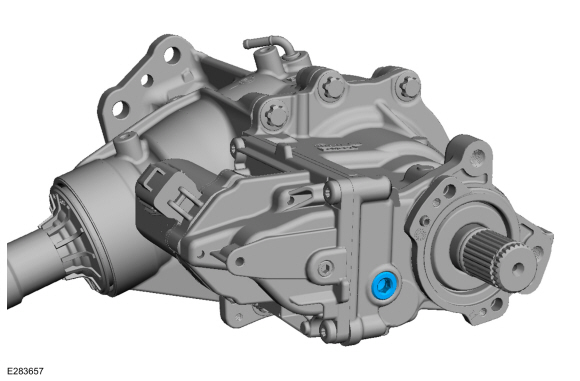
Lincoln Corsair: Power Transfer Unit - 2.0L EcoBoost (177kW/240PS) – MI4 / General Procedures - Power Transfer Unit Draining and Filling
Lincoln Corsair 2020-2026 Service Manual / Powertrain / Automatic Transmission / Power Transfer Unit - 2.0L EcoBoost (177kW/240PS) – MI4 / General Procedures - Power Transfer Unit Draining and Filling
Materials
| Name | Specification |
|---|---|
| Motorcraft® SAE 75W-85 Premium Synthetic Hypoid Gear Lubricant XY-75W85-QL |
WSS-M2C942-A |
Draining
-
With the vehicle in NEUTRAL, position it on a hoist.
Refer to: Jacking and Lifting - Overview (100-02 Jacking and Lifting, Description and Operation).
-
Remove the underbody shield.
Refer to: Engine Front Undershield (501-02 Front End Body Panels, Removal and Installation).
-
Remove the PTU drain plug.
 |
-
NOTE: Ensure drain plug gasket is properly seated and flush inside of drain plug groove. Drain Plug Gasket should not be visible after installation.
Install the oil drain plug with the new gasket.
Torque: 30 lb.ft (40 Nm)
|
Vehicles With: Power Transfer Unit Oil-to-Coolant Cooler
-
Remove the PTU cooler to drain the fliud.
Refer to: Power Transfer Unit Cooler - Vehicles With: Power Transfer Unit Oil-to-Coolant Cooler (307-07B Power Transfer Unit - 2.0L EcoBoost (177kW/240PS) – MI4, Removal and Installation).
Filling
-
Remove the PTU fill plug.
 |
-
Fill the PTU with clean fluid, level with the fill plug opening.
Refer to: Specifications (307-07B Power Transfer Unit - 2.0L EcoBoost (177kW/240PS) – MI4, Specifications).
Material: Motorcraft® SAE 75W-85 Premium Synthetic Hypoid Gear Lubricant / XY-75W85-QL (WSS-M2C942-A)
 |
-
Install the PTU fill plug.
Torque:
Stage 1: 133 lb.in (15 Nm)
Stage 2: 360°
|
-
Install the underbody shield.
Refer to: Engine Front Undershield (501-02 Front End Body Panels, Removal and Installation).

 General Procedures - Power Transfer Unit Fluid Level Check
Materials
Name
Specification
Motorcraft® SAE 75W-85 Premium Synthetic Hypoid Gear LubricantXY-75W85-QL
WSS-M2C942-A
Activation
With the vehicle in NEUTRAL, position it on a hoist...
Other information:
Lincoln Corsair 2020-2026 Service Manual: Disassembly and Assembly of Subassemblies - Cylinder Head
Special Tool(s) / General Equipment 303-1249Valve Spring CompressorTKIT-2006UF-FLMTKIT-2006UF-ROW 303-1567Sizer, Teflon SealTKIT-2010C-FLM 303-300 (T87C-6565-A) Set, Valve Spring CompressorTKIT-1988-FESTIVAT88C-1000-STTKIT-1988-TRACERTKIT-2009TC-F 303-350 (T89P-6565-A) Compressor, Valve SpringTKIT-1990-LMHTKIT-1989-FTKIT-1989-FMTKIT-1989-FLM 303-472 (T94P-65..
Lincoln Corsair 2020-2026 Service Manual: Removal and Installation - Exterior Mirror
Special Tool(s) / General Equipment Flat Headed Screw Driver Removal NOTE: Removal steps in this procedure may contain installation details. Exterior mirror assembly Remove the front door trim panel. Refer to: Front Door Trim Panel (501-05 Interior Trim and Ornamentation, Removal and Installation). Disconnect the electrical connector and position the wa..
Categories
- Manuals Home
- 1st Generation Lincoln Corsair Owners Manual
- 1st Generation Lincoln Corsair Service Manual
- Child Safety Locks
- Head Up Display
- Auto-Start-Stop
- New on site
- Most important about car
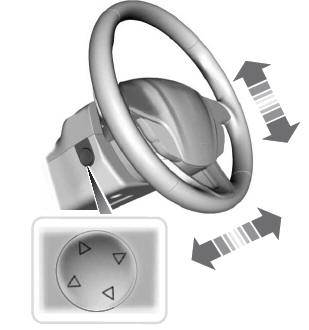
Adjusting the Steering Wheel - Vehicles With: Power Adjustable Steering Column
WARNING: Do not adjust the steering wheel when your vehicle is moving.
Note: Make sure that you are sitting in the correct position.
Copyright © 2026 www.licorsair.com